After scouring the weather reports and trying to decide what we wanted to do post-Bangkok, Brice and I decided to head to northern Thailand for some lowkey pool time, trekking in the jungle and playing with elephants! We were also on the mission for cooler weather after the insane humidity of Bangkok – even at 11pm it would still be hot. (I know I shouldn’t complain after the “snowpocalypse” freakout in Portland!)
We spent 5 nights in Chiang Rai, which is in the “Golden Triangle” named for being where Thailand, Laos and Myanmar (Burma) meet. One of the hotels we were at you could literally see all three countries from the room! This area is best known for … opium. Apparently until the last 10 or so years, it was the world’s largest source for opium and heroin. Yippee! (Now Afghanistan has that lucky claim.) The area is trying to improve its image and become a haven for elephant rescue foundations and jungle trekking instead.
We splurged to make sure we were at one of the most elephant-friendly places we could find, where they treat the animals with love and let them roam freely at night. We enjoyed a two-hour bareback ride through the jungle during which our elephants took down trees for snacks along the way and we got to join them for their daily bath in the pond. Seriously fun and kind of scary! It has been an amazing experience up here so far.
Remember to follow me on Instagram (@bakery_bingo) where you can get lots more photos and updates along the way.
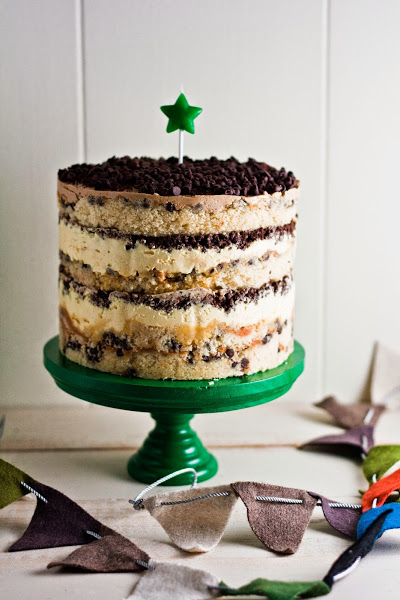
Today while we are touring around Thailand, you are in for a treat. My friend Michelle has an incredible baking blog called Hummingbird High. If you haven’t heard about it, you really need to check it ou. Her recipes are delicious, her stories fun and lively and her photos are always gorgeous. She has made insane things like this Momofuku layered chocolate chip cake. Seriously. She is talented.
As such, she has a huge Instagram following and is here guest posting to share her tips on beautiful Instagram photos! Thanks Michelle!!
—
Today I’m finally sharing something I frequently get requests for: a guide on how I create my Instagram pictures.
A few months ago, Instagram made me a suggested user on their app. What is Instagram’s suggested user list? According to the email I received, “Our Suggested Users List is a dynamic list that highlights some of the top photographers on Instagram. An account is usually featured for a couple weeks before it is cycled out to give others the opportunity to be featured. Being on the Suggested Users List means that we love your account and see you as a model Instagrammer.”
Indeed, in the following days after I received the notification, I saw my follower count balloon from 3,000 followers to over 50,000! How crazy is that? And with that many followers, I soon received many opportunities to work with some of my favorite companies and brands, including Tieks and several cookbook publishing houses.
Now, there’s no exact science to getting on Instagram’s suggested user list. On their website, it says that suggested users are determined by their community managers using a “secret sauce”. I don’t have a bullet point of things you have to do in order to get the coveted status, but I’m sure it has to do with having beautiful photographs and overall great content.
Which brings me to here. Taking photos on Instagram is easy, but taking good photos? Whole other ball game. I’m sharing some of my tips and tricks to taking good Instagram pictures, starting with some frequently asked questions I often receive about my account through my blog:
What kind of camera do you use for your Instagram account?
Believe it or not, I use my battered (seriously, the number of times I’ve dropped it is insane) iPhone 5s camera for almost all my Instagram pictures. The exception to this rule is if I’m posting about a new post on my blog — then, I usually use a picture from the post which I take with my fancy big-girl camera (a refurbished Canon 5D Mark II, usually with a 24-70mm f/2.8 or a 50mm f/1.8 lens).
Do you use an app to take pictures?
Nope. I use the Camera app that came with the phone. I’ve heard lots of good things about Camera+ though, which apparently lets you control things like aperture and shutter speed.
Do you use an app to edit your pictures?
Yes! I cannot stress this enough. Although Instagram has made progress with their filters, there are other third-party apps that allow you to have more control (in terms of exposure, saturation, brightness, etc). I’m a big fan of Afterlight and VSCO.
So, as you can see from the questions above, I’m not working with any extraordinarily tools because you don’t need anything fancy or expensive to take a good photo — Instagram or otherwise. Some of my favorite pictures are taken with my phone, or with my old basic DSLR that cost like $300. I’ve used my phone for all the pictures in this post, and you can see that they’re not bad at all.
And now, on to the tips and tricks!
Tip #1: Use natural light.
The first and most important: use natural light. If there’s one takeaway you’re going to have from this post, it’s this — I cannot stress this enough. I know that sometimes it’s impossible to do so, especially at blogger dinners that happen in dim romantic lighting at night. That’s the exception to the rule. But the rest of the time? Use natural light.
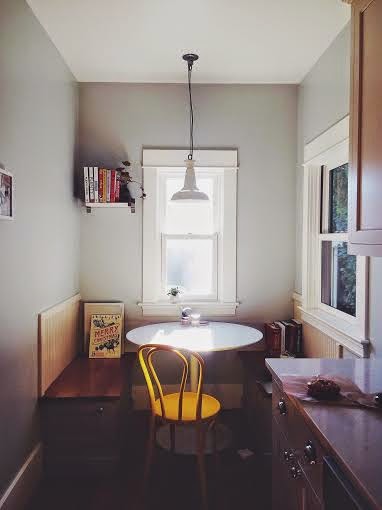
For instance, this is where I instagram most of the time:
This is my kitchen nook. The window streaming lots of light in is south-facing, meaning it gets lots of natural light all the time. There’s also an additional west-facing window that lets in lots of diffused light. If you see a food photo on my Instagram feed with a white background, it’s likely that I took it on that table, or the marble counter to the right.
But — and it’s a big BUT — you also have to know your natural light. Which brings me to the second tip…
Tip #2: Don’t take pictures in direct light; use indirect light.
What is direct light? It’s bright sunlight that’s not filtered in any way, coming directly from the light source. In the photo above of my nook, direct light would be that patch of really, really bright sunlight on the round table.
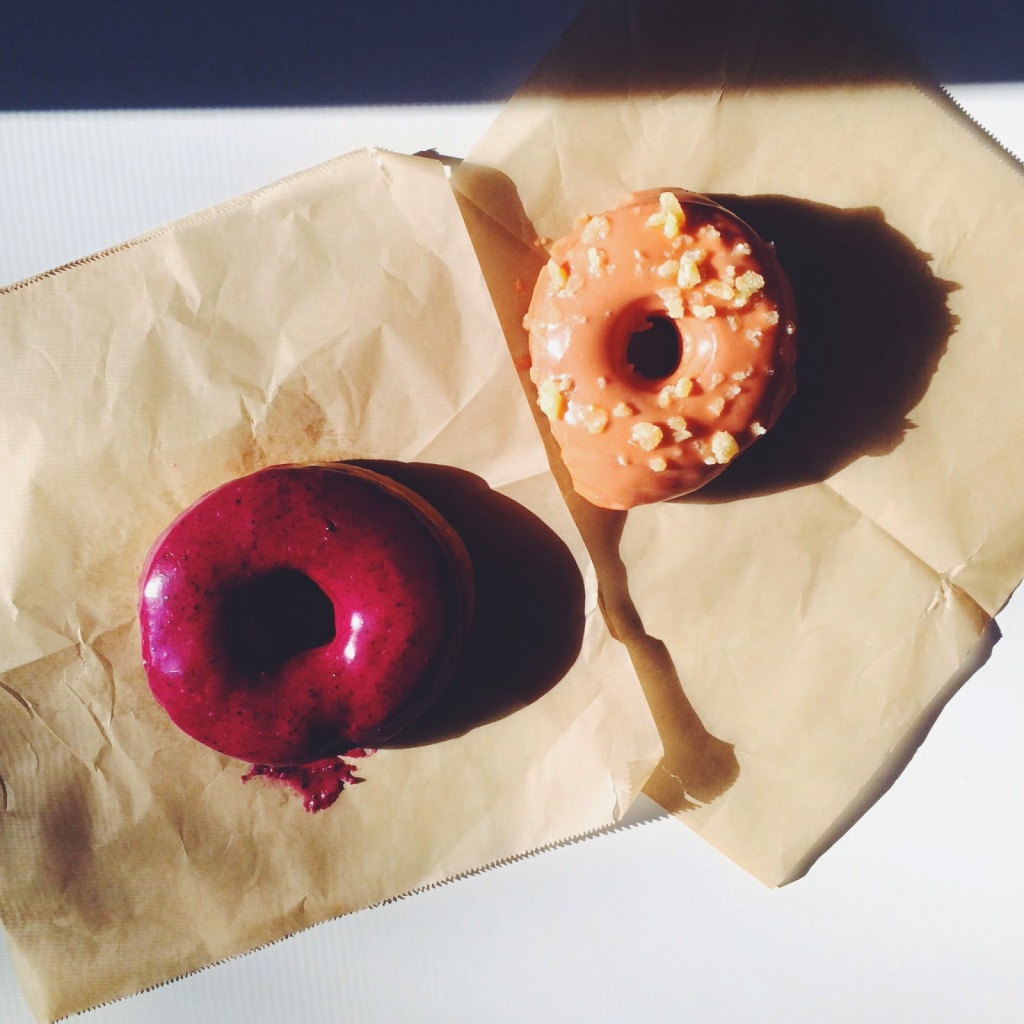
Direct light gives food harsh shadows and too much contrast. As an example, I stuck some Blue Star Donuts in the patch of sunlight on the table above. This is what the photo looked like:
Direct light creates super intense shadows, with the donut holes looking like bottomless pits of despair. Now the donuts still look good because they’re donuts, but it’s likely that another dish would look unappetizing in that light. And what about that dark line at the top of the picture? Another shadow, created from where the window ends. Weird and distracting.
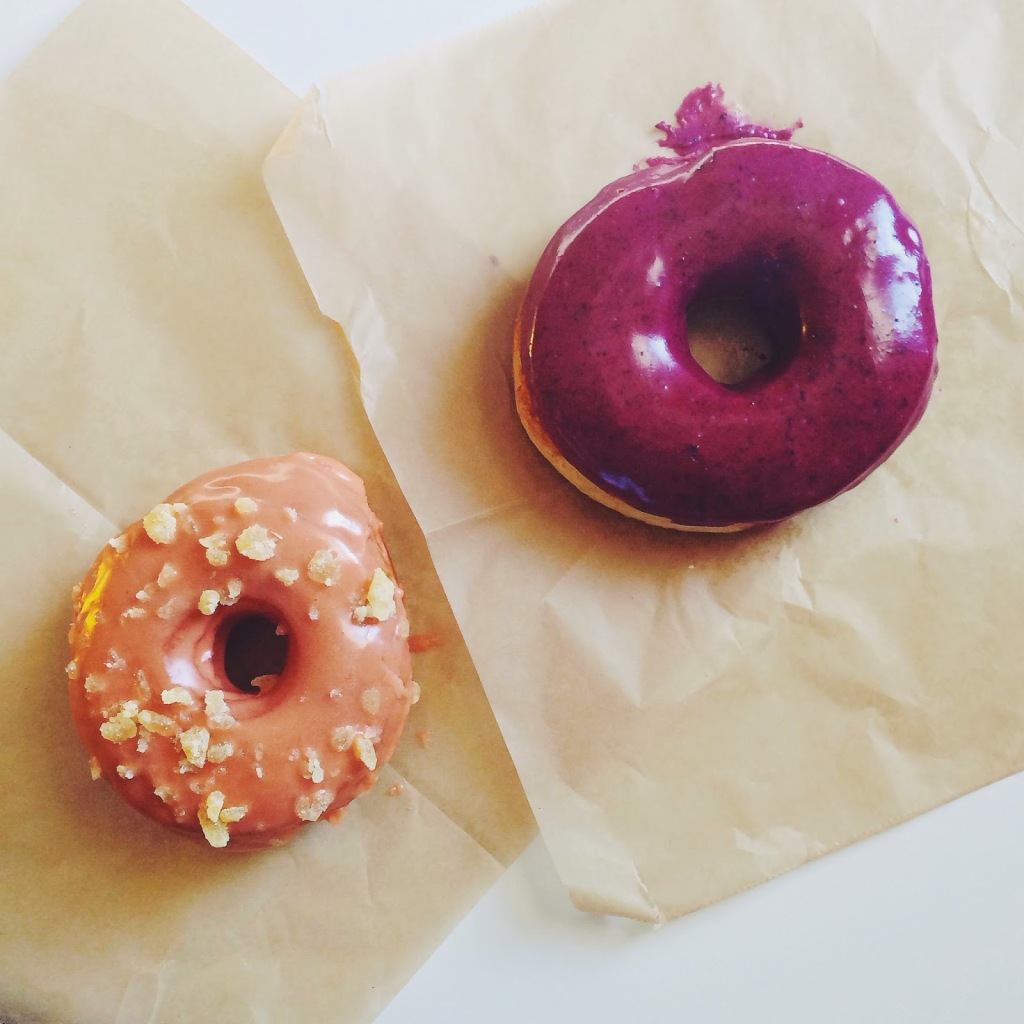
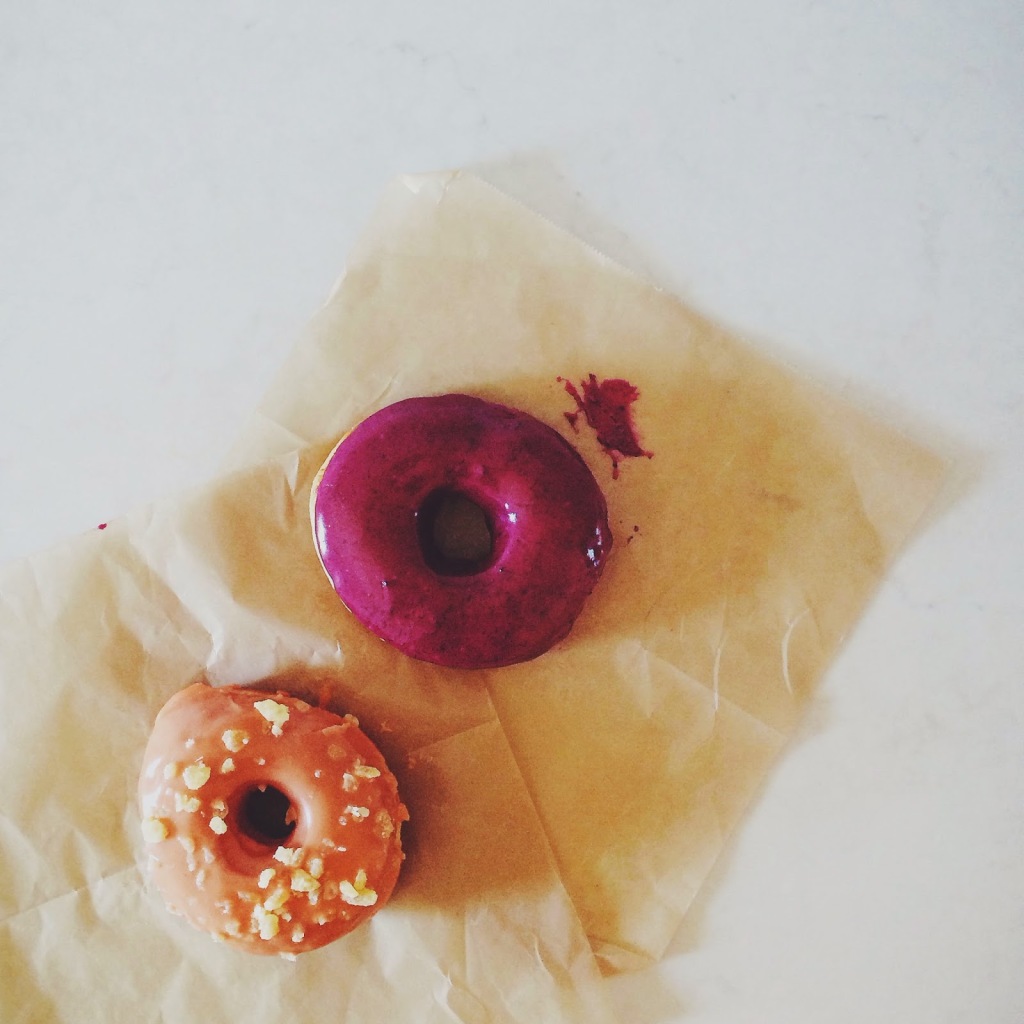
So I pulled the donuts a couple inches down out of the direct light and to the edge of the table, which was full of indirect light. That is, there was no direct light coming from the sun, and instead, that part of the table was lit up from the residual brightness from the direct light. This is what I got:
That made a world of a difference! The harsh shadows are gone, and you can see inside the donut holes. Without the shadows to distract you, you can focus on how pretty the colors of the donuts are.
Using your camera flash means that you are creating direct light for your photograph. That’s why flash photos always look so awful. Don’t use flash.
Tip #3: Don’t mix artificial and natural light together — have one single light source.
This is probably the biggest thing you can do to screw up your pictures. I know it’s impossible to shoot in natural sunlight all the time, but don’t try and take photos when the sun is setting and try and supplement it with artificial light. It will look awful. Same goes for candle light and artificial light, which I’ve seen people do at restaurants. Pick one, stick with it.
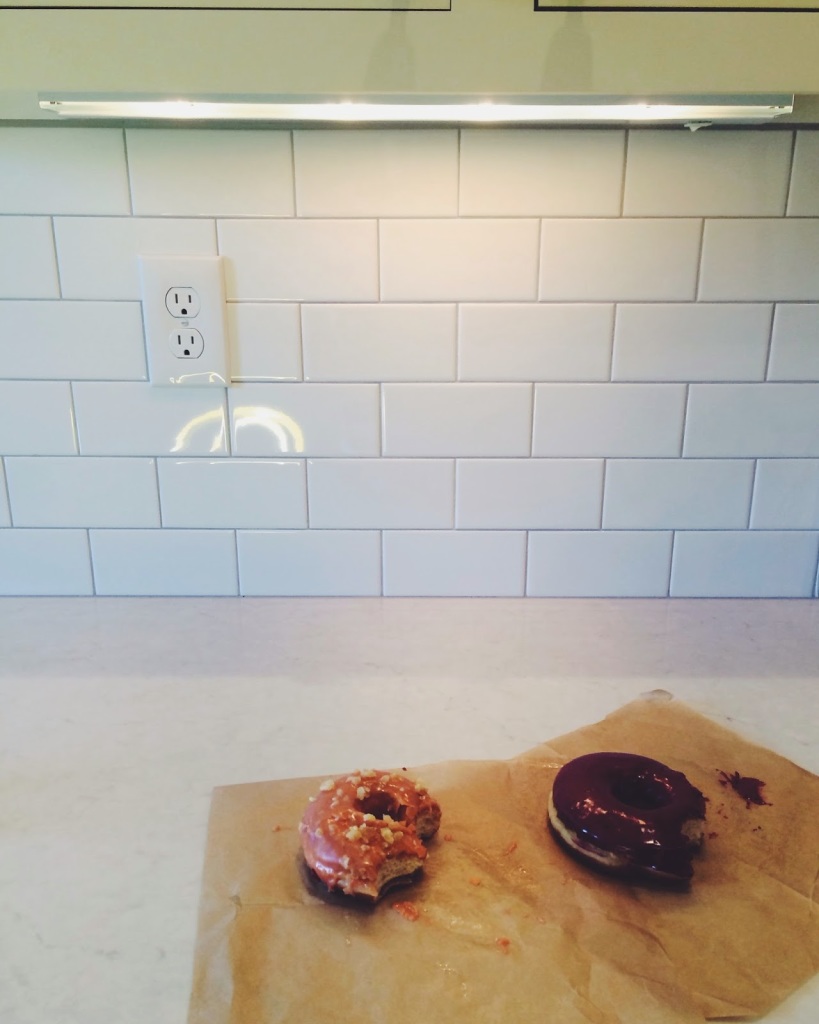
Because light has different temperatures — natural light has different tones than artificial light, candle light, and whatever else. Cameras are really bad at capturing multiple light sources at the same time. Here’s a photo of the donuts with both natural sunlight from the windows and artificial light from my cabinet underlights:
The camera reads natural light as having a blueish tint, whereas it reads the artificial light as having an orange tint. I can actually point out which parts of the photo are getting what light. And if they’re mixing? It turns into this super weird orange/brown/purple color. Overall, it’s super patchy, and there are weird reflections everywhere as a result of having multiple light sources. It’s a nightmare.
Here’s an overhead shot, the first being with natural and artificial light mixed together, versus just all natural light:
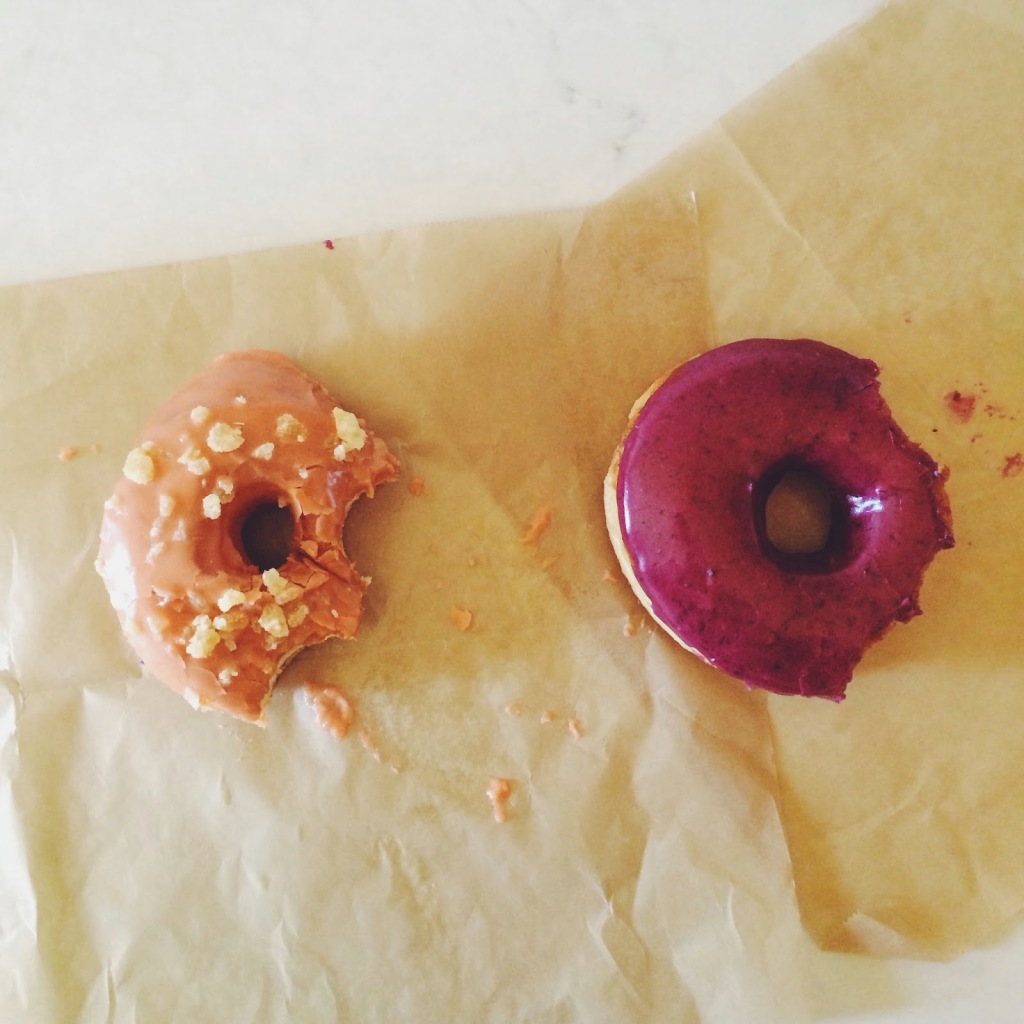
Lighting, man! It makes a world of a difference.
Using your camera flash not only creates direct light and harsh shadows, but also throws in another weird light source with a different temperature/tint/tone from the room you’re in. That’s another reason why flash pictures look so bad. So don’t use flash.
Tip #4: Know your angles.
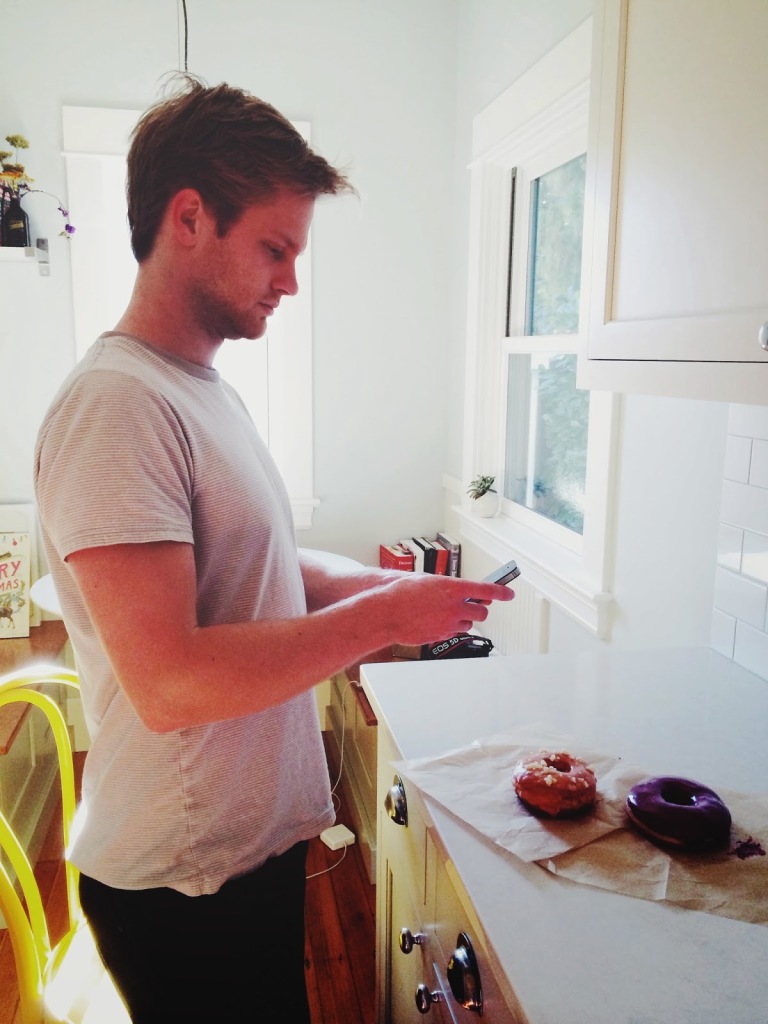
Food photography, like fashion, has trends. For a long time, it was trendy to shoot your photos from a three-quarter length angle; that is, with the photographer standing up, but with the camera tilted down on the table with the food. Here’s a photo of me forcing my boyfriend Erlend to demonstrate the three-quarter stance:
Usually the forefront of the photo is in focus while the background is slightly blurred — this effect is called bokeh. But with the rise of Instagram and cell phone photography in general, bokeh fell out of favor since cell phone cameras didn’t allow you to manually adjust settings that could create it.
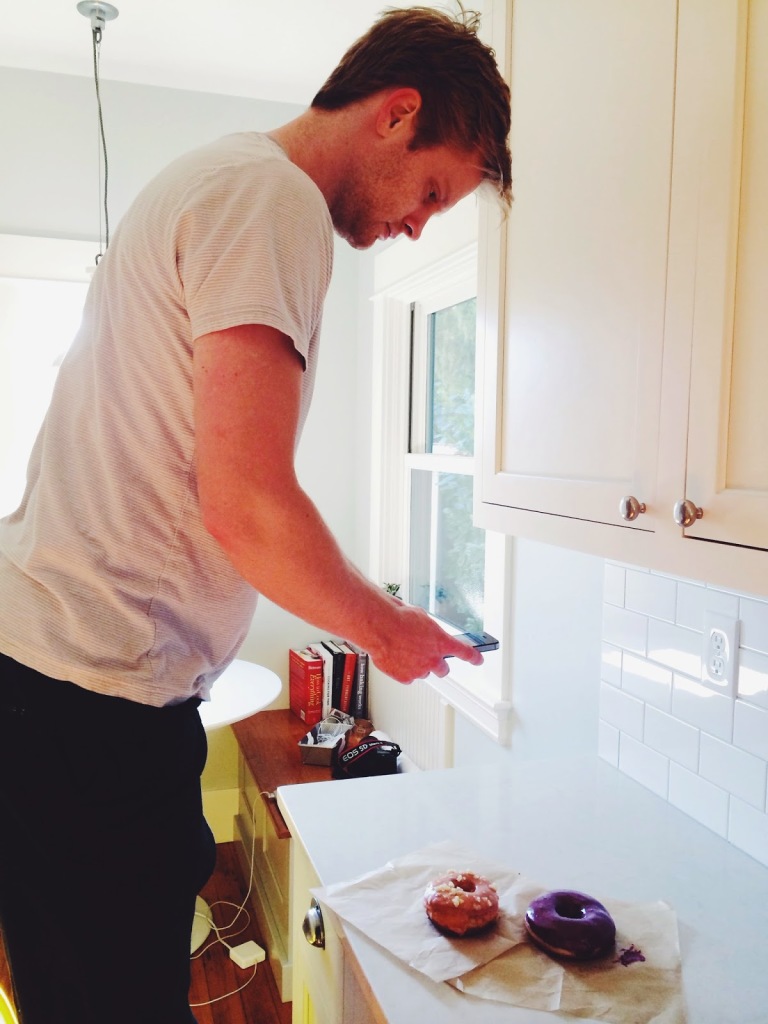
Instead, the popular angle in food photography these days is to shoot overhead; that is, from a bird’s eye view, with the camera directly above the food and facing down. Erlend demonstrates this below:
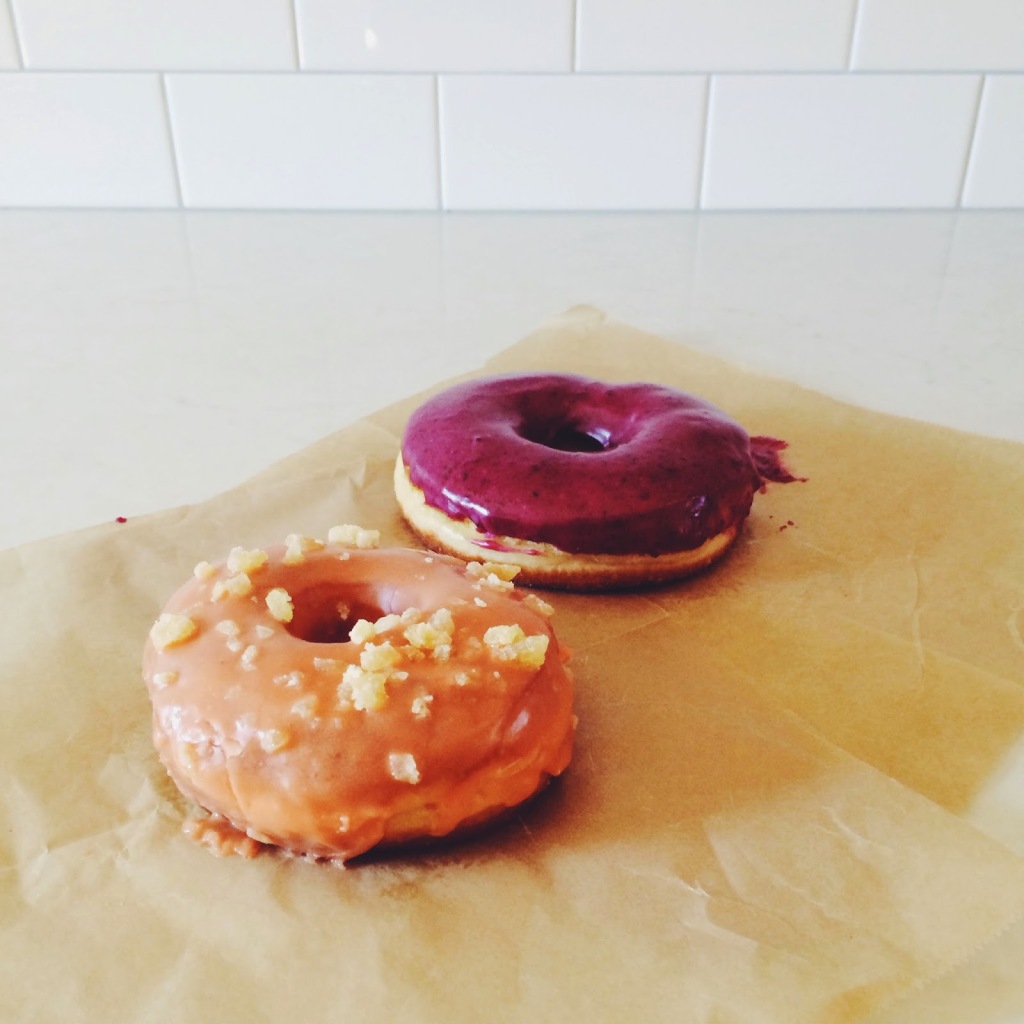
All the popular Instagrammers with the big follower counts are shooting this way. And it makes sense — it’s easy, and the shots come out looking good almost every time. Compare the photos below:
While the first photo (taken from the out-of-fashion three-quarters stance) is admittedly kinda cute, it only works because of the plain background (plain white subway tile). If you’re out and about, you’re likely going to have a busy background which will distract from the main subject matter and make the photo look way too busy. I much prefer the second photo. It’s also easier to style on the fly — restaurants tend to have cute tabletops that you can control, but you can’t do that much about the rest of the busy background.
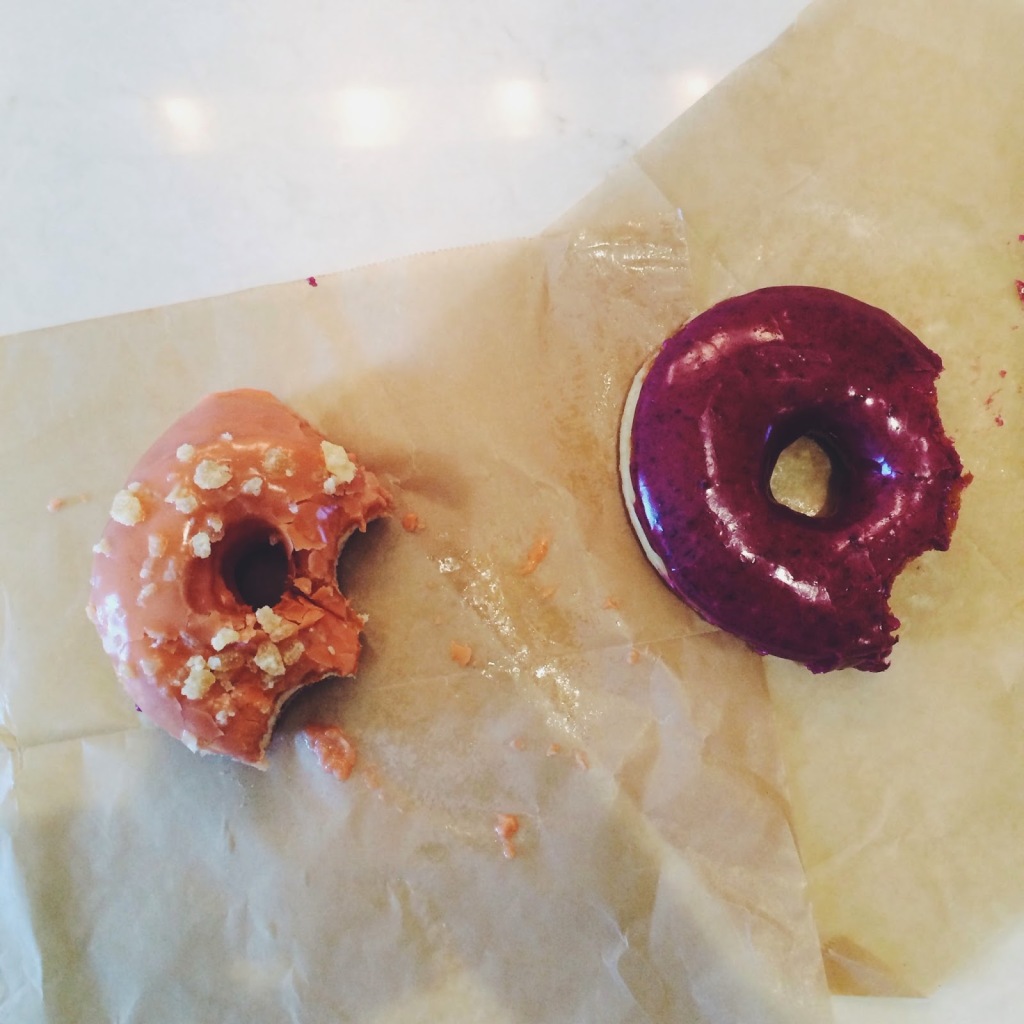
But let me warn you now — if you’re shooting overhead, it’s important to get up high so you can let your subject matter breathe. Shooting overhead only works if you give your subject matter space, but not if you’re up in its business like the photo below:
“Letting your subject matter breathe” actually has a technical term in photography: negative space. In the pictures above, the first picture looks way too cramped because it lacks negative space. In the second picture, taken by me as I was standing in a chair, the donuts look all cute and lovely on my marble countertop (which you don’t even really see in the first picture).
And that’s all for now! I can probably go on, but I think I’ve rambled on long enough. For now, let me leave you with a list of my favorite Instagrammers for inspiration:
Food:
The Faux Martha // Little Upside Down Cake // Luisa Brimble // Nikole Herriott
Lifestyle:
Alice Gao // Bethany Marie Co // Mama Watters // Wit & Delight


Yay, what an amazing post that is full of direct actionable tips and examples! Thanks for sharing, both Erin (so wanting to travel every time I see your McKAsia posts… And you could have a second career as a travel planner) and Michelle.
Thanks Pech! Oh travel planner?! That sounds fun! 🙂
Great post Michelle!!! Love these tips.
Right? She is super talented so great having suggestions from her!
Woohoo!
Thanks again Michelle!
Great and valuable post!!!
instagram is the shit thanks for the post